Showing posts with label model making. Show all posts

Monday, December 09, 2013

Hot Wheels 1:64 Ghostbusters Ecto-1 Customization

I know what's going to happen first off.  I'm going to get yelled at by all the collectors out there for cutting open the card and removing the Ecto-1.  Then they'll get over that and really become irate when they see that *spoiler* I'd taken the whole car apart!

Well, breathe. It will be ok. I understand the feeling of panic though. These cars are getting harder and harder to find.  They were made in 2009 and I think that's the last time HW made an Ecto. I'm probably wrong.  I think they are coming out with one this year, but I have yet to see it. Hopefully they'll make more because I want to customize more.  For now, this is my first attempt.  Here she is still on the card:


And here is the car, set free from it's confines! It's a pretty detailed car. Just very one color when it comes to the roof rack and interior. 


You'll see here that the ladder on the side is also molded with plastic between each rung. Upon further inspection I think it will be easier to paint the negative space white than to try to carve it out.  We shall see.


Notice the missing "No Ghost" logo on the back door. I'm going to have to find a way to fix that. I'm confident in my painting skills, but not on something this small.  Why would HW leave off the rear logo!


Here we go. The good stuff. After separating the chassis from the body some more interesting things about this car start to make themselves known. It's far more detailed than I anticipated.  Good for you HWs. However why would you go through all this trouble and just paint everything black?


The first thing that really jumps out at me is that the chassis is silver. completely silver. I supposed this is because the bumpers, which were big chrome monstrosities in the 50's, are a part of it. Easier to make it all silver/chrome I suppose than to try to paint it 2 different colors.  I'll definitely be repainting the chassis a flat black after taping out the chrome bumpers.


Looking closer at the inside of the care, you'd never guess what was there.  Four tiny Proton packs. All lined up on the rack ready to go. Seriously, so much detail wasted.  This project is going to take a little longer than the Delorean because of all the detail that's molded into these pieces.  But it's a good thing. There is SO much to play with in this little car.


That's where we I am for now.  This week if I can manage I'll try to start work on this. Probably with the chassis and body first.  Those will be the easiest.  Headed into the holidays it feels like free time vanishes.


...more to come! 

Tuesday, September 03, 2013

Proton Pack 2.0 Finish line is in sight!

Been a while since my last update but I've been busy working away. This is the point where it takes a lot longer because I'm working on a much smaller scale. It's fairly easy to get the main parts created and fitting together, but come time to wire...it's a headache.  What follow are pictures from the past few weeks moving oh so close to the final product. At the time of writing this I'm actually only left with creating a stand for the pack.

My friend who this is for has requested a black one and I'm hoping I can improve on the hastily put together stand I made for the original one I made.

So here we have the bumper being created. This is always one of the harder pieces because before there are layers of primer and filler and paint...it's pretty fragile. Here you can see it's basic shape coming togther

Let there be light! The power cell is lit and glowing and looks amazing. Successful test indeed.

This is a quick test to see if the barrel of the gun will light up with the LED. It's basically like a huge fiber optic. I'm using a cell battery for it's unique ability to illuminate a single LED without the need of a resistor.  It works, trust me. The flash is just causing too much light to see the glow.

Successful test of the cyclotron lights!

This initial wiring had to be taken a part and redone as lighting LED's can be tricky if you're not paying attention. And I was clearly not paying attention during round one. When I tried to hook up the gun, it wouldn't light up. Remember, different color LED's do not play well with each other when on the same circuit. 
Lesson Learned

The Ion bar and it's mount. Just sitting around saying, yeah, I'm done. 

Yup...Hermione. Don't judge.  Some of the labels are being applied to the main body.  This has been requested to be Ray's pack from the original Ghostbusters.  There aren't too many differences. His HGA is straight up and down as opposed to Egon's which is at an angle. And you can see in this pic that the label is correct. The bolts will be painted on accordingly as well. 

The gun coming together. Adding a few little cosmetic details. I love that half the wires on this model are functional and the other half do nothing. I'm assuming the original prop was the same way.

It's officially all together! I use tape to clamp things together when drying. Rubber bands or actual clamps would damage the pieces. Tape is harmless but applies enough pressure.I believe in this pic the mount for the red and blue hoses on the left side is slowly drying.

HANDLES! There is so much wear and tear on these that when making them I tried to keep them a little rough. There is some red coming through from underneath to mimic the actual screen grabs and prop images that show them as such. It's a simple thing to do. Use a base primer of red and then just lightly sand off the final coat until you get some bleed through.

Shock mount...pre-paint. Ray's is actually bent in some scenes and normal in others. There is so much discrepancy between the hero packs and the foam stunt packs that I chose to make this normal. 

Almost done!You can get an idea of scale too in this pic. As this was taken, the ribbon cable was being heated up in order to make it more malleable so I can attach it. But this is a great shot of the almost done pack! All electronics work by a switch in the back. Along with the battery housing (bit of a tight squeeze, but what ever) And almost all detailing is done.


More to come...

Tuesday, July 30, 2013

Updates on Proton Pack 2.0

It's been a few weeks since I've posted any updates on my second proton pack. I've been slowly toiling away. In my defense though it's been so insanely hot here that the paint hasn't been drying right. I've have to go back several times and re-sand and re-prime many of the main pieces in order to get rid of the dimpling from the humidity. That'll teach me to paint in a heatwave.

So aside from the cyclotron being covered with copious amounts of paint and primer, it's coming along really well. Slow, but well.  My first time around I worked on the body and then the gun separately. This time I'm trying to build them at the time time to decrease build time, decrease the amount of paint and primer I go through, and to keep the paint looking more uniform. Although it's a flat black, so really there isn't much you can do to make it look THAT different.  Still.  Both sections are coming along.

The following pics are of the past few weeks' worth of work. Still a work in progress and still some much needed sanding has to happen in some places. But Enjoy!


Pretty much right where I left off, here is the gun mount box with it's first coat of filler. It helps strengthen the wood and makes it easier to smooth and detail.  (however it does gum up the sandpaper a bit) 

Crank Case also with thicker primer.

The packs use 2 Clippard resistors. I have to admit I like making these. Something about the small size and detail that can be added.  Granted, they're a pain in the ass because they're so small. but they come out looking great.  One is on the body of the pack and the other it attached to the gun.


Like I said. I like these. Which is why I'm taking too many pictures of them.

The gun body!

This strip becomes the panels that borders the cyclotron as seen a few pics below.


 I like to test fit pieces together often. Usually everytime a new pieces comes closer to being done. It's important to me to make sure that measurements are still correct and lines still line up. After primer and paint pieces increase in size slightly. So I'm always checking to makes sure everything still fits.  (Plus I get a kick out of seeing it come together)


The paint! I'm going with a flat satin which I'll scuff up with 1000-2000 grit paper in order to dull out any shine. Even though it's a matte color it still gets a bit shiny.  As you can see from the 

Here we have a "before and after" with paint.  

I'd say things are slowly coming together. Next will be to start putting in the electric components. I need to obviously cut holes for the four red lights and to make the bumper. Which was a huge pain, to be honest. I'm taking my time with it this time around. I have to find a better way to create a piece like that.   

Here you can see the crank case, almost finished with crank knob and decal. Just resting in place. And the power cell and injectors off to the side. I'm in the process of hollowing out the power cell for the blue LED.

Closer view of the crank case! And the light playing tricks on the paint.
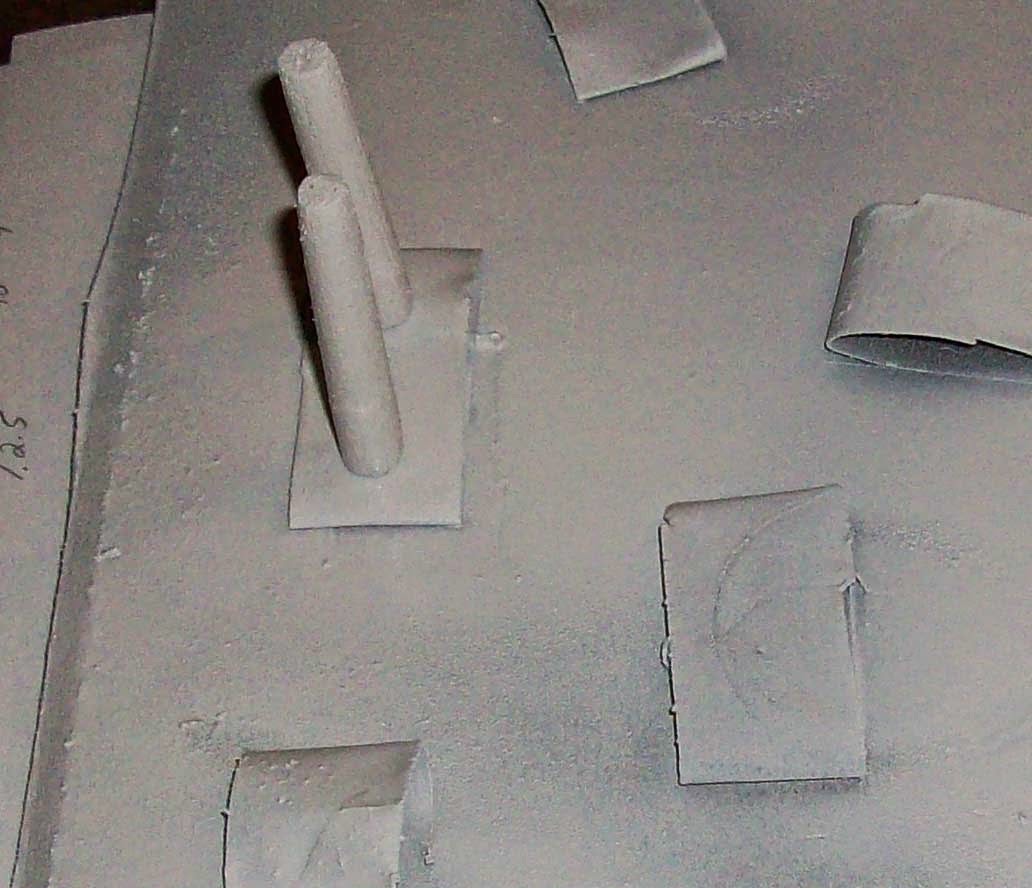

And this is where we are now. I suspect that the next week or two things will start to really fall together as the majority of the housings and major components are done (or close to being done) and it will just be a matter of fine tuning certain things.  I'm going to spend time tonight working on the gun since it's almost ready for lights as well.  

It's coming along, I say!

Wednesday, July 17, 2013

The Original Enterprise Project

Another little idea I've been kciking around recently after discovering my old stash of Star Trek Micro Machines is a smaller Enterprise.  One that lights up, but pretty simple.  And for sake of ease I thought of scaling it down so that the average size of an LED is the size of the from of the nacelle.  So it's tiny. There will be batteries in the stand. When placed on the stand it "should" light up. And of course when off the stand it'll be off.  (there will also be an on off switch on the stand."

So here are the initial pictures of my newest project.


The Hull! It's nothing to look at so far, but shaped correctly. And I'm hoping once the wood is sufficiently reinforced I'll be able to do some detailing.  There will be one white LED inside the hull for pin pricks of light to come through "windows."


This is another shot of the hull with primer and the saucer section VERY roughly shaped out. In this pic I have yet to actually contour or shape the saucer section at all.


Nacelles!

These have been shaped as best as I can get them on such a small scale. In TOS they are tapered down a little towards the rear. I've done my best to shape them down.  These will both have a red LED inserted in the front....will make painting tricky...

The saucer section. It's nothing to look at right now. But we're getting there. There will be a white LED inside this as well.  Which puts our LED total at 4. Should be doable. This will illuminate the top and bottom and the port and starboard lights which will probably just be green and red bits of plastic lens...if I can find them.


And this is just me laying the pieces out just to get a sense of where things will lie. It's not perfect by any means but it's a good start. The saucer section is a bit big from top to bottom. The diameter is about right but I've gone a bit too liberal with building it up for the top and bottom domes while also making room for the LED that will live inside.  I hope to have some more updated pictures by this weekend of something that more closely resembles a star ship....lot's of work to do.

Wednesday, July 03, 2013

First Commissioned Proton Pack

Well folks, it's happened. I've been contacted by another HUGE Ghostbusters fan (and specifically a fan of the heart of the Ghostbusters, Ray Stanz himself) to create another miniature proton pack. My very first commissioned pack.  I've had offers but it's been more the type of "hey make me one." While this is truly a labor of love, it's a labor. As you can tell from the original build. They take a while, but the end product is something I'm very very proud of. And this time around I hope to improve on a few little tiny issues I had when making the first one.

So here is the build of version 2.0

First up the motherboard. I chose to cut this out of a sheet of plastic this time around to give the pack even more stability and to make it easier to create a cover for the batteries.  We'll see how that works out when we get to that step.  In the original pack there was a planned cover with fell to pieces in my hand. So this should fix the brittleness of wood.  One hopes.


Here is the cyclotron and possibly the biggest piece of the pack. It's made of several layers of wood in order to build it up high enough and allow me to fully carve out in the inside to make room for the electronics.


This is just a rough fit to see how spacing is lining up before priming and sanding. So far so good. Looks a big plain but that'll change soon enough.


This is after the first coat of primer and a little filler. I use Primer and gesso to fill in the wood. It helps to strengthen it and gives a nice base for the pain to stick to. Only down side of gesso is that I feel like halfway through each can it's such a thick substance that no more is willing to come out.  Anyone else use this and find they have this problem?


A couple close ups of the cover to the cyclotron in it's primed and filled stage.  Right before another coat of primer was shot onto it.


After a few more coats of primer and here is a side by side comparison to help me make sure I'm on the right track. I like to use different colors of primer to hilight sections and to help me see what needs to be done. Using one color tends make everything blend together.


And here is an un-primed gun mount box prior to detailing. There is some detailing that needs to be done to the top now that the basic shape is there and the edges have been rounded.


And that's where we are so far folks. It might not seem like a lot, but it is. There is so much sanding and cutting and priming and waiting for each section. And that gets repeated over and over again. More coming soon.  But this is an excellent start to another pack.