Showing posts with label starship. Show all posts

Wednesday, July 17, 2013

The Original Enterprise Project

Another little idea I've been kciking around recently after discovering my old stash of Star Trek Micro Machines is a smaller Enterprise.  One that lights up, but pretty simple.  And for sake of ease I thought of scaling it down so that the average size of an LED is the size of the from of the nacelle.  So it's tiny. There will be batteries in the stand. When placed on the stand it "should" light up. And of course when off the stand it'll be off.  (there will also be an on off switch on the stand."

So here are the initial pictures of my newest project.


The Hull! It's nothing to look at so far, but shaped correctly. And I'm hoping once the wood is sufficiently reinforced I'll be able to do some detailing.  There will be one white LED inside the hull for pin pricks of light to come through "windows."
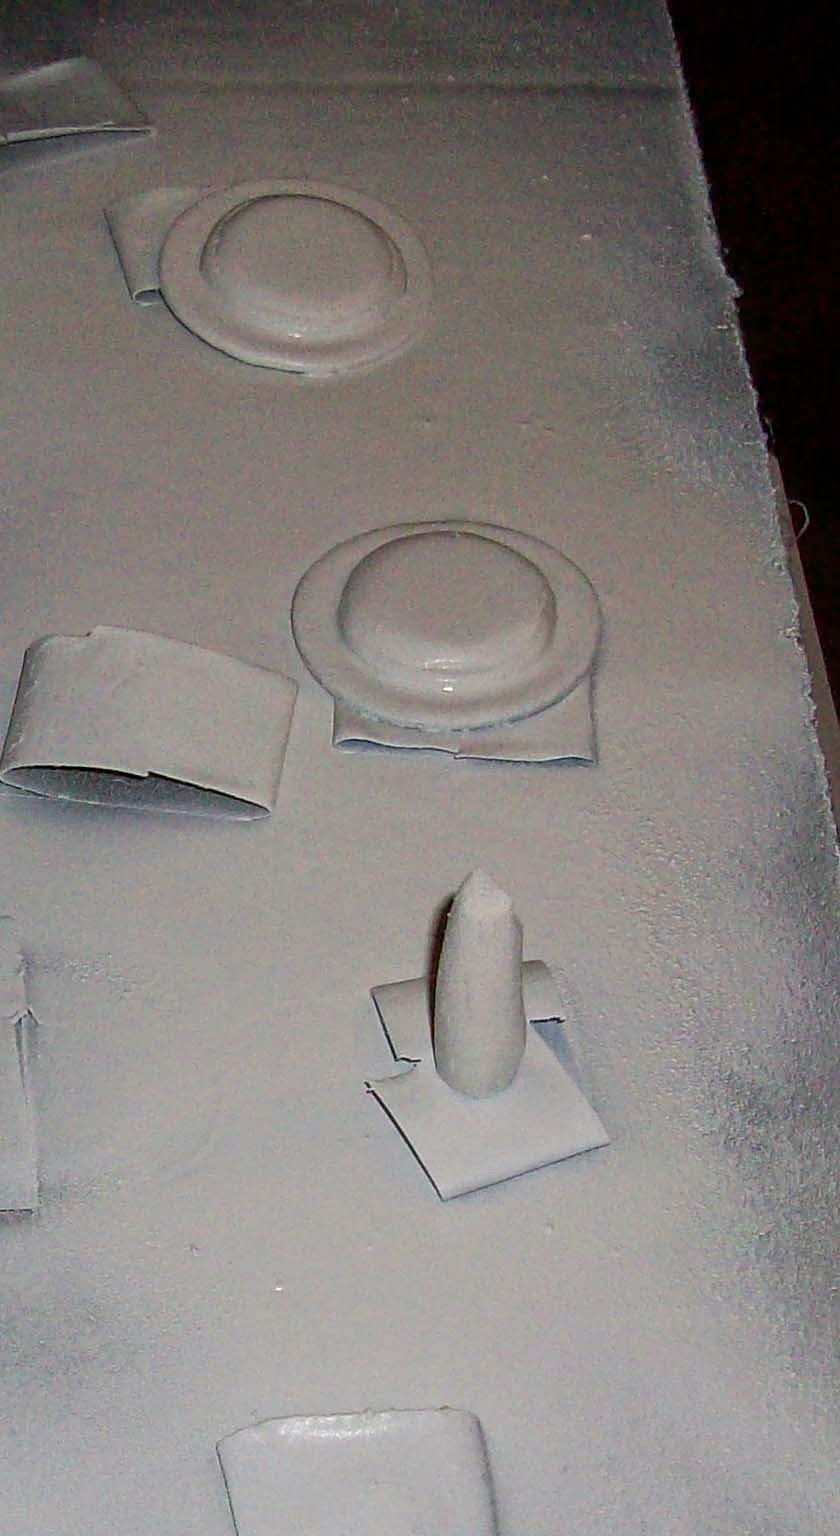

This is another shot of the hull with primer and the saucer section VERY roughly shaped out. In this pic I have yet to actually contour or shape the saucer section at all.
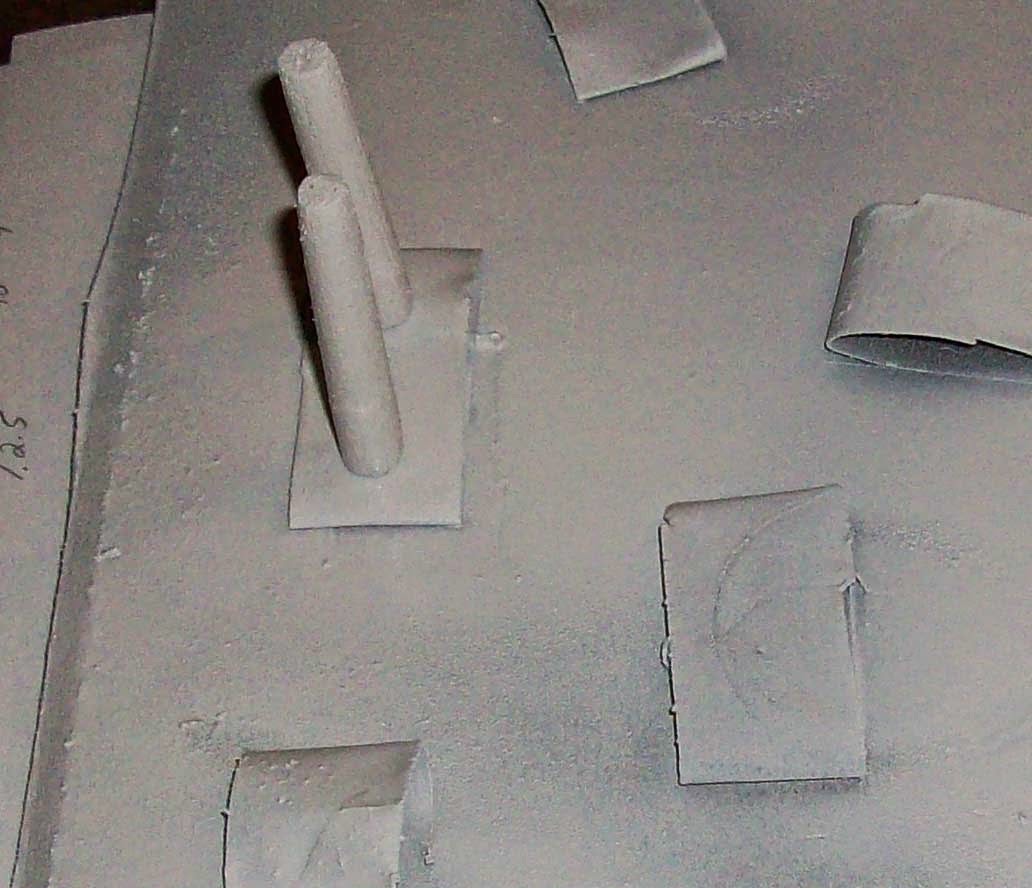

Nacelles!

These have been shaped as best as I can get them on such a small scale. In TOS they are tapered down a little towards the rear. I've done my best to shape them down.  These will both have a red LED inserted in the front....will make painting tricky...

The saucer section. It's nothing to look at right now. But we're getting there. There will be a white LED inside this as well.  Which puts our LED total at 4. Should be doable. This will illuminate the top and bottom and the port and starboard lights which will probably just be green and red bits of plastic lens...if I can find them.


And this is just me laying the pieces out just to get a sense of where things will lie. It's not perfect by any means but it's a good start. The saucer section is a bit big from top to bottom. The diameter is about right but I've gone a bit too liberal with building it up for the top and bottom domes while also making room for the LED that will live inside.  I hope to have some more updated pictures by this weekend of something that more closely resembles a star ship....lot's of work to do.

Monday, March 29, 2010

Millenium Falcon 11

So I did a little more work on my Falcon last night after some initial work on the proton pack. I've added the Escape pods on which really make it look much better. 2 Giant holes on either side are not fun to look at especially when lit up. There are still some adjustments to the pods and the side panels need to be added. But the side panels need to go on once the top and bottom are glued together properly.

Next step..buy clothespins.

So here are some pictures as of now. This first one you can see the glow of the engines as well as some minor detail on the hatch

This is also the side that has the walkway lowered. I might need to do a little tweaking as far as detailing here. But it looks fairly good. You can see the engine light leaking through where the side panels need to go by the escape pod.
Here is a top front view of the falcon. Straight on the headlights are too bright and it will wash out any detail. Here you can see the light on top coming through the gunners seat. Behind which is mounted a tiny Luke Skywalker. You can also see the blue light leaking through the front. We'll get to that in a second. I do like the engine glow on my crate in the background.

Rear top angle. Fairly good engine glow spread. The angle washes out the center a little. You can see how bright the headlights are here as they burn whatever is in the background. And side blue spill from lack of cover panels by the pods.

This is just a darker side view of the newly installed pods. Here you can really the spill. Don't worry..obviously this will be fixed since i'm apparently focusing this blog on the side panels being missing. Looks good though, no?


And for some reason this to me looks like a Battlestar Galactica Shot. Of one of the raiders. I don't know why it reminds me of that. Now in the films, this section is closed off. You can't see in. For some reason the model has a little window here. I'm currently blacking out this window so I can glue it in.
This is all I have to update about now. If i really get my ass in gear I should be done with this within the next few weeks. It's just a matter of focusing. Now that the electrical system is up and running and the few bugs I had are fixed. It should last for some time with out anything burning out. Hopefully the only bad thing that happens is that the batteries die and need replacing.

Wednesday, March 03, 2010

Millenium Falcon 10

So this is just a quick update of pics. I was showing a friend the other day and realized several things. It's been years since I started this simple model. Some modellers scratch build in the time it's taken me to wire this. I've also realized that waiting so long in between working on this...I lose my place.

Anyway, here are some pics of the engines at 1/2 before being focused and directed where they are supposed to be.
From Built to, Build to
Rear. May cut out that stabilizer since it's so glaringly obvious
From Built to, Build to
Side shot. Again..stabilizer, but the glow looks fairly well diffused
From Built to, Build to
And rear above. SATBILZER!

Thursday, March 27, 2008

Millenium Falcon 9


Today has been interesting to say the least.


I stopped by RadioShack this afternoon for a case for the batteries for the falcon. What happened to things being easy? I went in, grabbed my case and a 4-pack of AA's. Neville, the annoyingly incompetant sales clerk talked me into getting 3 more packs of batters. 4-for-10. not bad. Well apprently after i paid and all Neville made a mistake and the batteries i bought were NOT on sale. So of course i'mnot gonna pay for em. I spent the next 10 minutes waiting there while 3 other clerks came over and tried to figure out how to refund all this.


By this time i just wanted to leave and didn't wind up buying anything. And to top it all off, Radioshack doesn't sell wire. Speaker wire, sure. But what about good old electric wire?


So i went home, cooled off and went back a few hours later. After all i needed the battery case to begin wiring things correctly.


And behold the fruits of my labors. I figure that 4 AA's running the few LEDs that I have will be sufficiant enough to power the Falcon. The case for the battery fits perfect in the rear of the ship between the two landing gear bays. The whole thing will run off of one battery pack with an on/off switch.


Not too bad so far I think.

The blue glow from the engines is actually looking pretty damned good. Instead of direct light i'm going to angle the LEDs a little to spread the light and avoid harsh glares which you'll see still show up in pictures.

Right now I only have one blue engine light in. Its a slow process of making sure they're alligned correctly as well as gluing them in. I've contructed little stands to that the lights can be positioned at the right height behind the plastic shield.

Top view. You can see the tape holding on the front of the cockpit while the glue drives. There is a small LED inside the cockpit that will more than likely be overpowered by all the others. As well, there is one in the center under the gun turrets. Currently its not plugged in. But when complete, light will be seen through the small circular windows on top and bottom.


Here you can also see the spill from the blue of the engines. The model isn't completely glued together, so there is going to be tons of spill. Once all the lights are in and up and running i'll be able to seal it shut. The only access point will be the top engin turret which I am not securingits going to be the only way to turn the ship on and off as well as replacing batteries.


And of course some nice darker shots so you can get a look at what the lights will look like glowing in the darkness.


I think this is my favorite one so far. Granted its a bit blurry, but you can see some detail of the ship with the lights fired up.


Alright. Thats all for now. Within the next week or two I hope to have it all up and glowing. After that its just a matter of sealing off any cracks or seams to reduce spill light leaking through.

Enjoy.