Showing posts with label models. Show all posts

Wednesday, July 17, 2013

The Original Enterprise Project

Another little idea I've been kciking around recently after discovering my old stash of Star Trek Micro Machines is a smaller Enterprise.  One that lights up, but pretty simple.  And for sake of ease I thought of scaling it down so that the average size of an LED is the size of the from of the nacelle.  So it's tiny. There will be batteries in the stand. When placed on the stand it "should" light up. And of course when off the stand it'll be off.  (there will also be an on off switch on the stand."

So here are the initial pictures of my newest project.


The Hull! It's nothing to look at so far, but shaped correctly. And I'm hoping once the wood is sufficiently reinforced I'll be able to do some detailing.  There will be one white LED inside the hull for pin pricks of light to come through "windows."
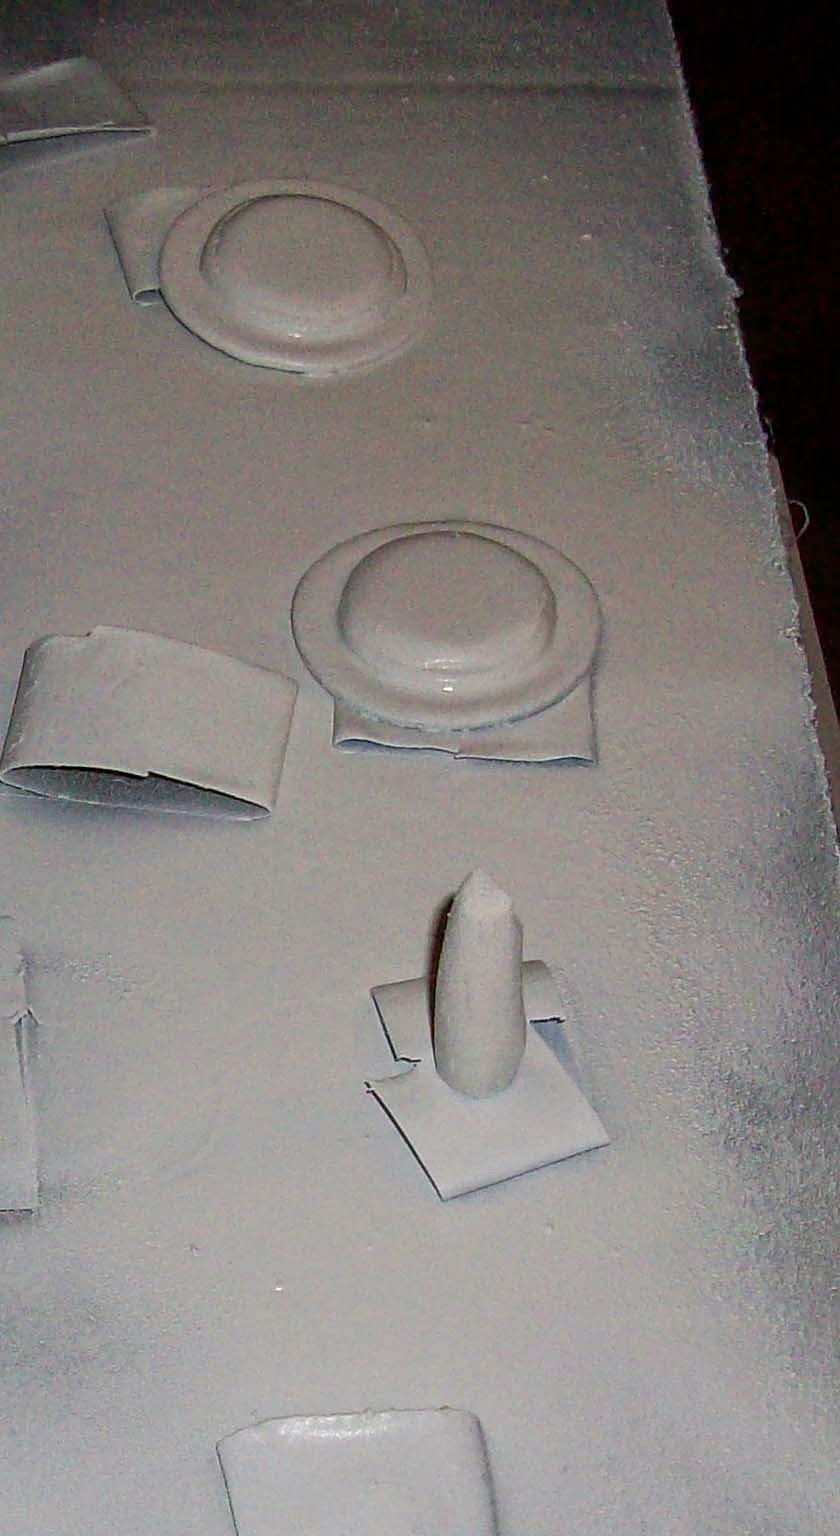

This is another shot of the hull with primer and the saucer section VERY roughly shaped out. In this pic I have yet to actually contour or shape the saucer section at all.
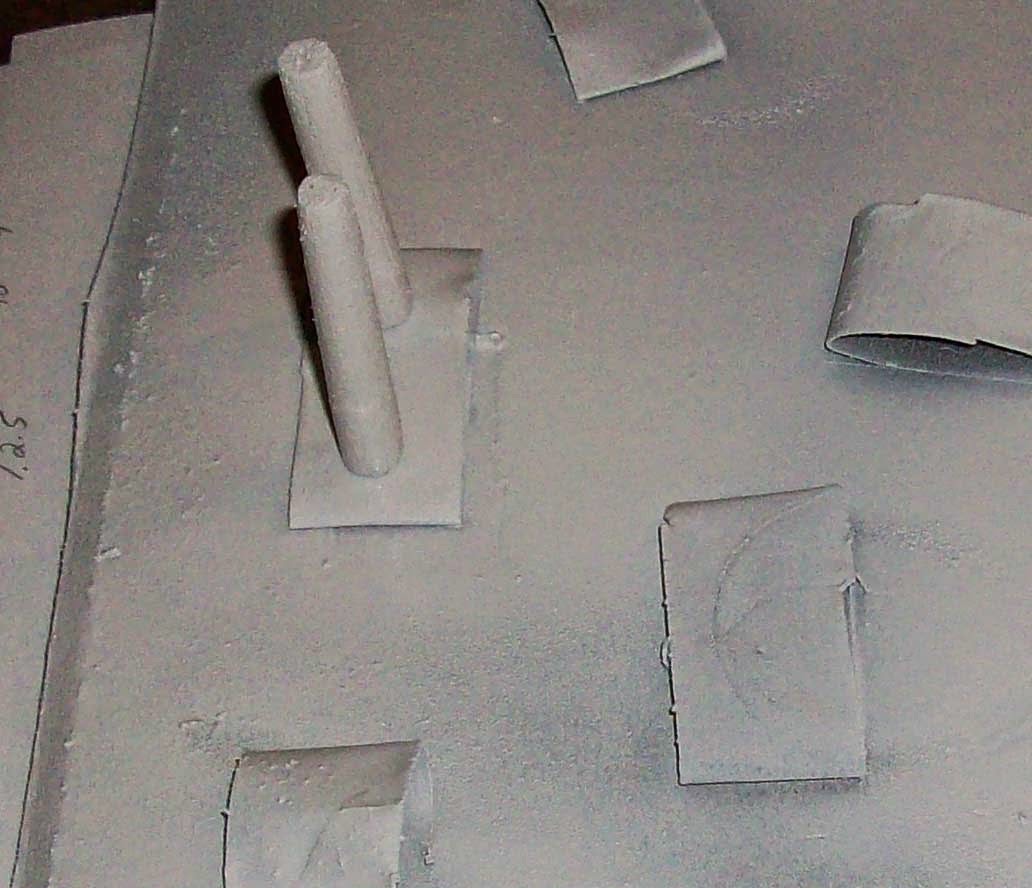

Nacelles!

These have been shaped as best as I can get them on such a small scale. In TOS they are tapered down a little towards the rear. I've done my best to shape them down.  These will both have a red LED inserted in the front....will make painting tricky...

The saucer section. It's nothing to look at right now. But we're getting there. There will be a white LED inside this as well.  Which puts our LED total at 4. Should be doable. This will illuminate the top and bottom and the port and starboard lights which will probably just be green and red bits of plastic lens...if I can find them.


And this is just me laying the pieces out just to get a sense of where things will lie. It's not perfect by any means but it's a good start. The saucer section is a bit big from top to bottom. The diameter is about right but I've gone a bit too liberal with building it up for the top and bottom domes while also making room for the LED that will live inside.  I hope to have some more updated pictures by this weekend of something that more closely resembles a star ship....lot's of work to do.

Wednesday, July 03, 2013

First Commissioned Proton Pack

Well folks, it's happened. I've been contacted by another HUGE Ghostbusters fan (and specifically a fan of the heart of the Ghostbusters, Ray Stanz himself) to create another miniature proton pack. My very first commissioned pack.  I've had offers but it's been more the type of "hey make me one." While this is truly a labor of love, it's a labor. As you can tell from the original build. They take a while, but the end product is something I'm very very proud of. And this time around I hope to improve on a few little tiny issues I had when making the first one.

So here is the build of version 2.0

First up the motherboard. I chose to cut this out of a sheet of plastic this time around to give the pack even more stability and to make it easier to create a cover for the batteries.  We'll see how that works out when we get to that step.  In the original pack there was a planned cover with fell to pieces in my hand. So this should fix the brittleness of wood.  One hopes.


Here is the cyclotron and possibly the biggest piece of the pack. It's made of several layers of wood in order to build it up high enough and allow me to fully carve out in the inside to make room for the electronics.


This is just a rough fit to see how spacing is lining up before priming and sanding. So far so good. Looks a big plain but that'll change soon enough.


This is after the first coat of primer and a little filler. I use Primer and gesso to fill in the wood. It helps to strengthen it and gives a nice base for the pain to stick to. Only down side of gesso is that I feel like halfway through each can it's such a thick substance that no more is willing to come out.  Anyone else use this and find they have this problem?


A couple close ups of the cover to the cyclotron in it's primed and filled stage.  Right before another coat of primer was shot onto it.


After a few more coats of primer and here is a side by side comparison to help me make sure I'm on the right track. I like to use different colors of primer to hilight sections and to help me see what needs to be done. Using one color tends make everything blend together.


And here is an un-primed gun mount box prior to detailing. There is some detailing that needs to be done to the top now that the basic shape is there and the edges have been rounded.


And that's where we are so far folks. It might not seem like a lot, but it is. There is so much sanding and cutting and priming and waiting for each section. And that gets repeated over and over again. More coming soon.  But this is an excellent start to another pack.

Monday, December 17, 2012

From the Archives of Childhood

I was going through some old spiral notebooks I've saved through the years full of horrible poetry, doodles, and clearly nothing school related. I found one that was completely made up of some really bad drawings. And a few good.  They're all pencil drawings on lined paper. You know, top of the line stuff here.

Clearly I was the coolest kid on the block back then.  Ladies lining up around the corner. I'm serious...

What's also clear is my love of BTTF and Ghostbusters. So without further ado, here are some sketches by me from back in the day. Enjoy!

The Proton Pack.
This is more modeled after the pack from the real Ghostbusters. I'm almost positive I have a better oe somewhere.  But alas, I think it's a victim of time and moving one too many times. So here is the Proton Pack at least.  I vaguely remember sitting down with one of the packs fro the action figures in front of me while trying to draw this.


Delorean 1
This was my first attempt. Not the wobbly Mr. Fusion. Man I was bored that day. The doodlings of a bored teenager. I am going to assume this was during A.P. American History.  Le'ts pretend it is. I love how there is physically no room under the hood for anything. Not even a hoover board.


Delorean 2
This is a slight improvement on the first design. Also I remember using the BTTF Micro Machine as a guide. This was before the days of buying my own collectible toys. So I had to do with what I had. Also had to guess and embellish.  A lot.


Delorean 3
What is this? Some kinda of crazy Concept? Not a clue what I was doing here. Notice how the further I advanced with these the more I threw proportion right out the window. This was also as I started getting really into classic cars which influenced the big "Swish" antenna that you sometimes see on the Ghostbusters Caddy.


There you have it. A slight glimpse into the younger me. Really not much has changed. I still sketch ideas out in spiral notebooks too.

Sunday, December 02, 2012

Hot Wheels 2011 Delorean Customization


The Delorean! This little guy was staring at me at a CVS late one night. CVS of all places. I swear you can get everything there, milk, candy, razors and time machines. It's a pretty good scale representation of the car from the films.  However, something as a kid that always annoyed me was staring me in the face. Hot Wheels and Matchbox cars do the bare minimum to create their cars. They spend a little extra time on the outside and the body of the car. The interior however sucks. That's all I can say. It sucks. So I decided to rectify that for this car and possibly might go back and fix all my old Hot Wheels that yes-I-do-still-own-from-childhood! Don't Judge. 
So here is the initial car still in packaging.
2011 New Models Delorean from Back to the Future.
This is, from what I can tell of the rear of the car, from BTTF 1. There is no Mr. Fusion molded onto the car.


Out of the packaging. You can see the very basic and generic gray interior.
Yes, yes, I opened up the package and took it out. Sacrilege!

Just a side shot

First step was to drill out the 2 metal posts that keep most of these cars together. Here are the 5 pieces.
Not having an actual drill, but still a drill bit, I drilled by had which took longer and earned me a nifty callous on my index finger. You should all be jealous.

Side shot of the pieces.
A close up of the exhaust and the interior

The bottom of the chassis I hi-lighted sections with silver paint. Pretty straight forward. The mufflers were also painted but oddly not in this pic. Oh well.


The Exhaust tips and the plutonium chamber were painted black.


The windows have been blacked out to reduce some of the "blue" that the windows are molded out of.


The body with some black hi-lighting done with simple dry brushing black paint.


The front and back of the interior painted black to act as a good base for the detail.
And...detail! A lot of silver and red hilights. Along with a few yellow sections here and there.  And dry brushing black on the seats. Just to pick up the shadows.

Assembling the chassis to the interior.

Adding the Windows

Next the body


And lastly the exhaust!

 FINAL PICTURES! Here is the little devil all finished and looking pretty spiffy for the camera.
If I could put in a slide show I would. But I'm not sure how to do that yet.


*Update 12/3/2012

Because you asked for it @SamanthaRMason I have come through for you. Here is a side by side comparison of the car starting out and finished.

Enjoy!


Monday, March 29, 2010

Millenium Falcon 11

So I did a little more work on my Falcon last night after some initial work on the proton pack. I've added the Escape pods on which really make it look much better. 2 Giant holes on either side are not fun to look at especially when lit up. There are still some adjustments to the pods and the side panels need to be added. But the side panels need to go on once the top and bottom are glued together properly.

Next step..buy clothespins.

So here are some pictures as of now. This first one you can see the glow of the engines as well as some minor detail on the hatch

This is also the side that has the walkway lowered. I might need to do a little tweaking as far as detailing here. But it looks fairly good. You can see the engine light leaking through where the side panels need to go by the escape pod.
Here is a top front view of the falcon. Straight on the headlights are too bright and it will wash out any detail. Here you can see the light on top coming through the gunners seat. Behind which is mounted a tiny Luke Skywalker. You can also see the blue light leaking through the front. We'll get to that in a second. I do like the engine glow on my crate in the background.

Rear top angle. Fairly good engine glow spread. The angle washes out the center a little. You can see how bright the headlights are here as they burn whatever is in the background. And side blue spill from lack of cover panels by the pods.

This is just a darker side view of the newly installed pods. Here you can really the spill. Don't worry..obviously this will be fixed since i'm apparently focusing this blog on the side panels being missing. Looks good though, no?


And for some reason this to me looks like a Battlestar Galactica Shot. Of one of the raiders. I don't know why it reminds me of that. Now in the films, this section is closed off. You can't see in. For some reason the model has a little window here. I'm currently blacking out this window so I can glue it in.
This is all I have to update about now. If i really get my ass in gear I should be done with this within the next few weeks. It's just a matter of focusing. Now that the electrical system is up and running and the few bugs I had are fixed. It should last for some time with out anything burning out. Hopefully the only bad thing that happens is that the batteries die and need replacing.

Wednesday, March 03, 2010

Millenium Falcon 10

So this is just a quick update of pics. I was showing a friend the other day and realized several things. It's been years since I started this simple model. Some modellers scratch build in the time it's taken me to wire this. I've also realized that waiting so long in between working on this...I lose my place.

Anyway, here are some pics of the engines at 1/2 before being focused and directed where they are supposed to be.
From Built to, Build to
Rear. May cut out that stabilizer since it's so glaringly obvious
From Built to, Build to
Side shot. Again..stabilizer, but the glow looks fairly well diffused
From Built to, Build to
And rear above. SATBILZER!