Sunday, July 02, 2006

Millenium Flacon 6

Progress is coming along slowly but at a decent pace. I've purposefully taken my time on this project and while it doesn't seem like i've gotten a lot done at one time, when i stand back and look I realize that I'm getting there.

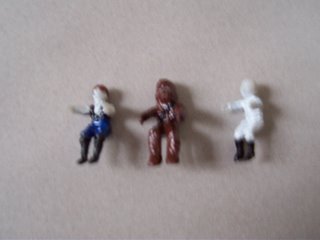
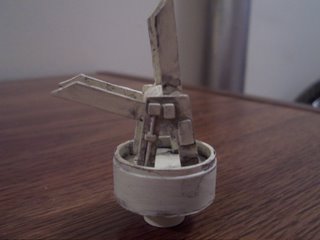
Following are more picture updates including the mysterious gunner. This model came with 3 characters. Two of which were obviously Han and Chewie. The third character in my opinion looked a lot like Luke in his X-Wing flight suit, so i painted him accordingly.


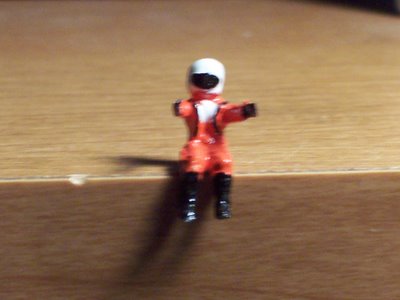
What you can't see is the detail on the sides of the helmut, did my best to draw the symbol of the rebellion.

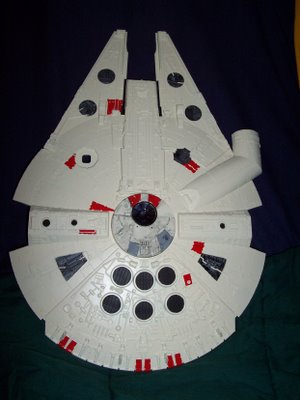
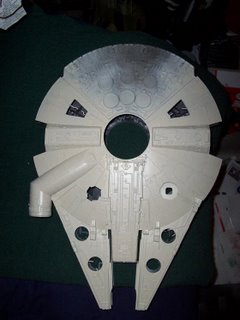
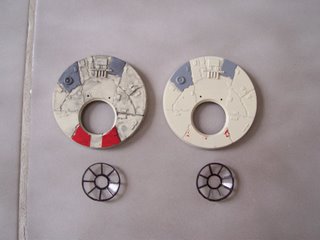
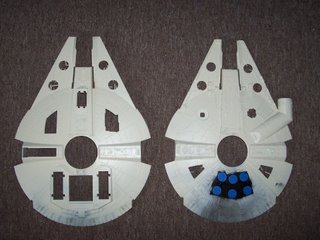
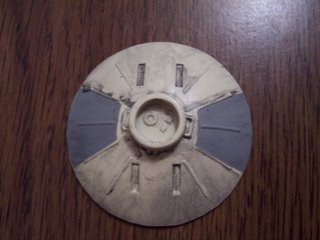
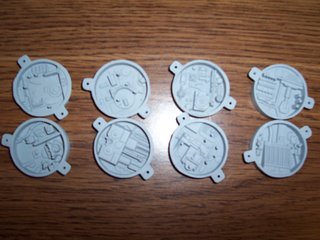
Here is the top half of the shell with the beginnings of the red detail. All the reference photos i've seen each have some discrepencies. Not to mention the fact that the model itself, while being very detailed, is not exact to the movie models.

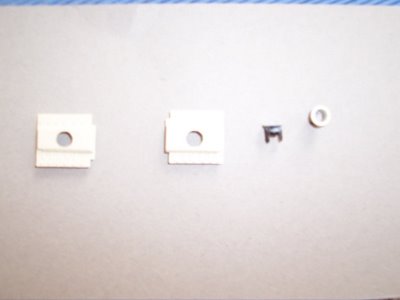
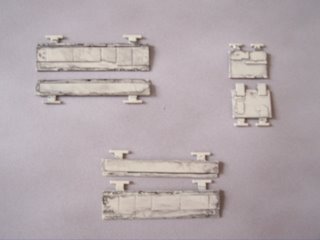
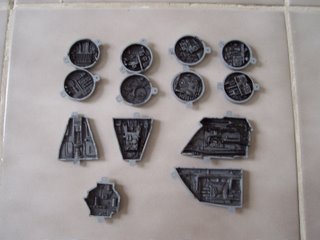
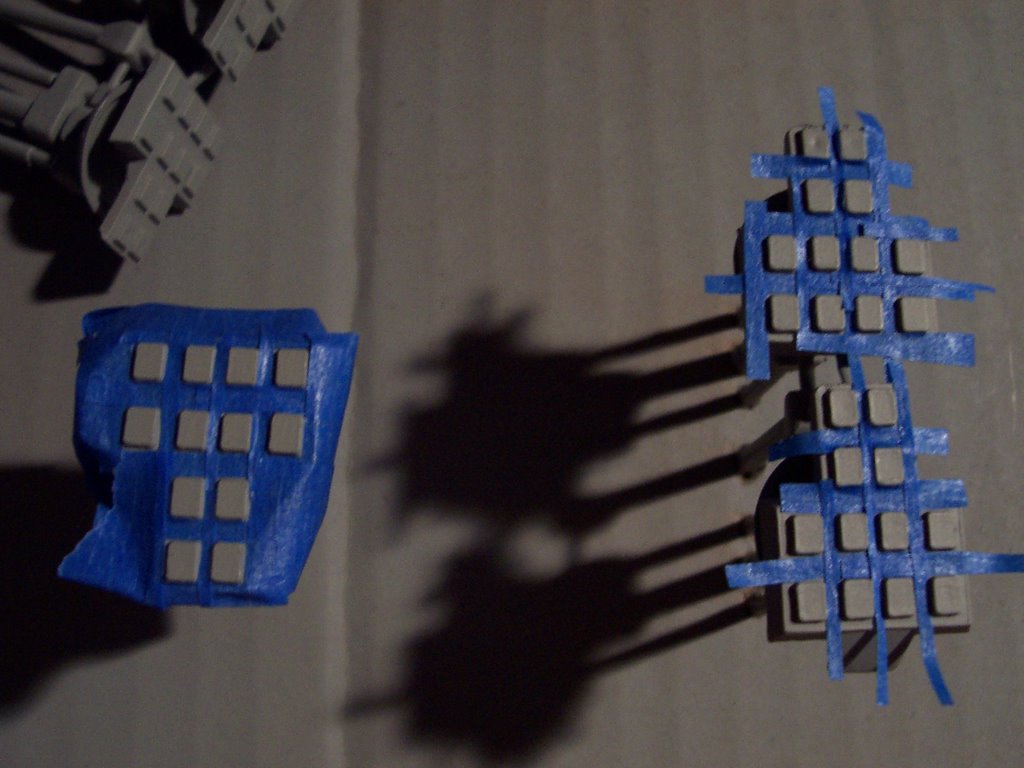
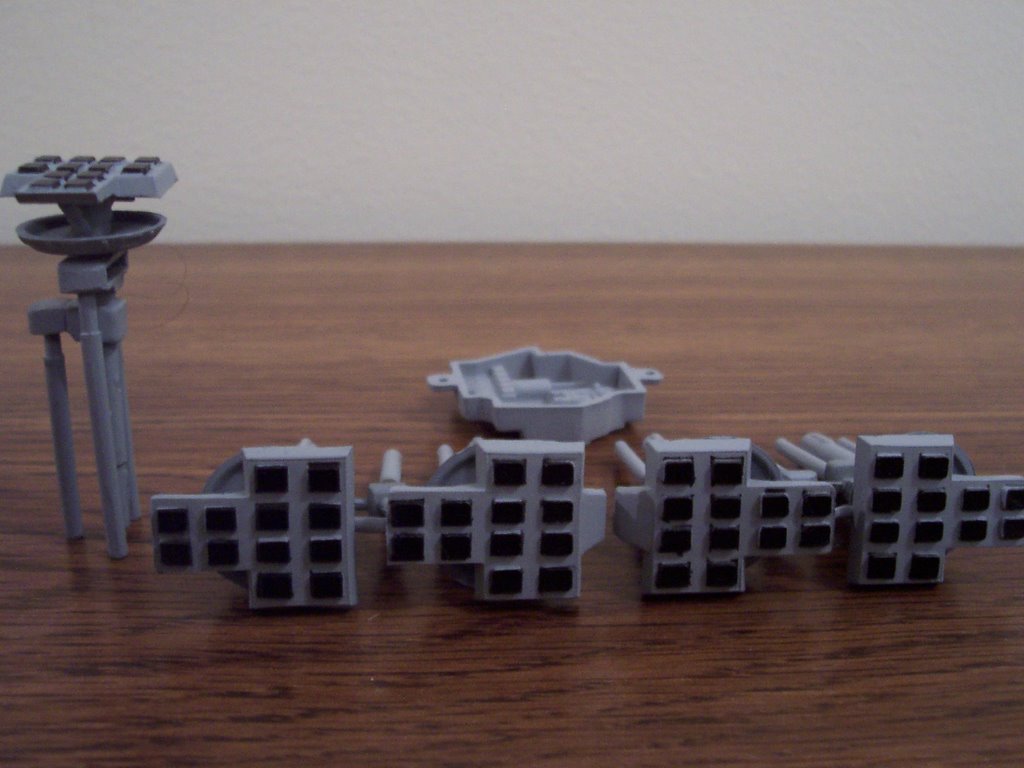
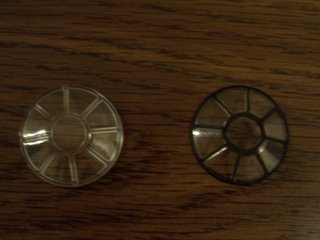
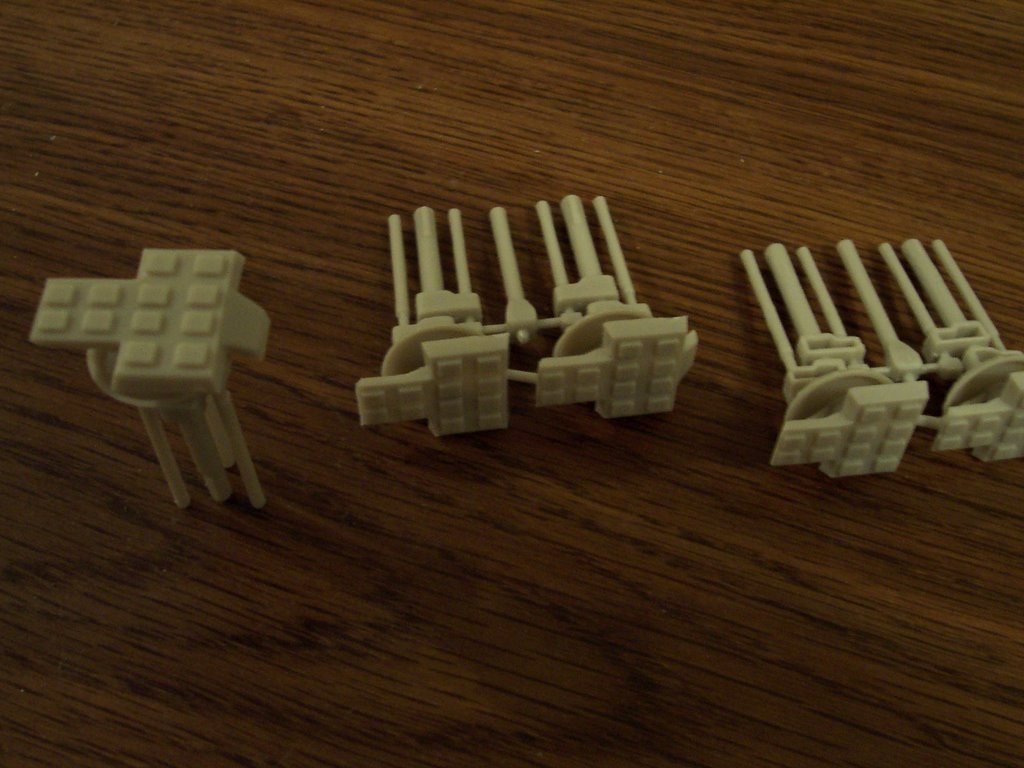
Here are the panels that go on the front of the mandibles. As well, pictured are the holders for the lamps that act as headlights for the falcon. Not the best pic, but you get the idea.

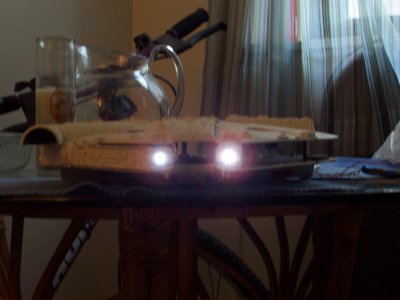
And here is a lighting test. First straight on. Nothing is glued together, just resting in place so i can get an idea of how everything fits together.

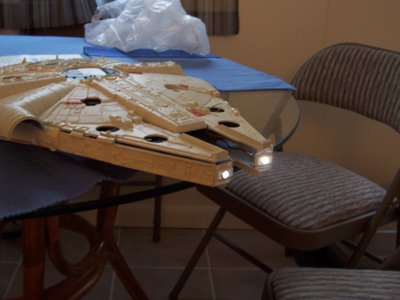
And a side angle view. You can see the wires in the left mandible and how there are gaps where the body isn't glued together yet.

Thanks for checking in, more to come soon.

Sunday, June 18, 2006

Millenium Flacon 5

Here is the most recent update. I've been a little busy the past few weeks with outside projects. Now I have been working on the ship, just haven't had time to post pics of my progress. So here is a lump of all the updates since last I posted. I'm getting close to the end and will be able to assemble it all soon. There are still a few problem areas, such as the lights as well as the cock pit. I want to do something to make it more real looking. As is, its awefully basic. I am in search of a good way to make the interior of the cockpit looking as real as possible. As well, I might need to scratch build a section for the front panel that according to this model is clear. We shall see.

Of course you're not interested in any of that, so on to the photos......


The upper half just after painting and prior to detail of the exaust vents being added.

The landing gear doors post paint and weathering.


The upper and lower turrets, one finished, one still awaiting detail. Both windows painted and awaiting instillation.

The three characters that came with the model. Chewie was easy to figure out. The Han Solo one also seemed pretty obvious. Then there is the mysterious new guy. Complete with identity hiding helmet. I might pattern it off of Luke's orange flight suit just for fun.

All of the inserts with weathering and mior detail.

Landing gear complete with detail and weathering. Included in this photo are also the upper and lower quad guns.


Upper and lower halves of the 'hambuger' in the midst of detail work on the exaust vents.


And here is a close up of the exaust vents. They've been painted black and are here taped out so the remaining portions of the aft end can be painted.

So here you go, the newest update. Since taking these photos a few days ago there has been even more work done, but i'll save that for another time. And as always any advice or suggestions are all welcome to help get this project looking as good as possible.

Monday, May 22, 2006

Millenium Flacon 4

OK, this is a piece that I know drives modellers crazy. The sensor dish/array. Personally I know i've spend countless houurs scouring the internet and old photos and stills for pictures of some of the finer detail on the falcon. This particular piece seems to be missing from all close up shots that I could find. Happily though, I have been able to locate a few pictures that were clear enough for me to get a good idea of what the detail should look like.

The following are the pieces not totally assembled yet, but at least you can see the progress on the detail. There is some aging and some correct color panels being done.

Here is the front of the dish. I believe there are a few red markings that need to be placed on it, however I'm still double checking my facts on this particular detail. But as is, I'm very happy with the outcome.

This is the base to the dish itself. This piece took sometime and patience with moulding putty to smoothe out seams that otherwise would be way to visible.

And lastly, the rear view of the dish. The two grey panels were taped out and painted. Then the aging and black detail was added.

I will do my best to document this project with as many photos as possible so people will have some record of the falcon here online. So if anyone needs any close up photos, or more of a specific piece, please let me know and I will accomodate as I can.

I will say that all is coming along at a nice easy pace. I'm not rushing this. Hopefully for now this is enough. As the sections come together I will add more.

Sunday, May 07, 2006

Millenium Flacon 3


Pictures galore. I haven't updated this in a few weeks, but fear not, I have been toiling away on this project. I have just been awefully busy with other projects that I have been unable to update.

Over the past few weeks I've managed to do some more basic priming and painting before the electronics are added and the final model is pieced together.


The landing gear were painted and detailed. The pads beneath the "feet" were painstakingly taped out and painted. Not that anyone will really see the detail, but I know its there.

And following below is just a whole slew of images of finished pieces or pieces in the throws of being details. not pictured is the ever allusive radar dish. Its drying and I didn't want to disturb it. There has been much tweaking to many of the parts, the radar dish being one of them with countless hours trying to smoothe out seams with moulding putty.

And now without further delay...."in process" photos of the Falcon's parts.

The upper and lower windows for the two guns. Before and after detail of paint.
Upper and lower guns assembled so the parts are movable. I may glue the bottom one in order to keep it from swivelling down.
Struts for the gangplank. The upper portion of the cockpit and the seats themselves. Trying to solve the problem of a missing instrument panel. I'll have more updates about that once I focus in on a solution.
In-lays before any specific detail. These are just painted a flat primer gray to give them more definition. Weathering and depth need to be added with some black detail.
Finally, the housing for the landing gear with the necessary holes for the landing gear struts to be pushed up into.

Tuesday, April 11, 2006

Millenium Flacon 2


So today I trimmed and scuffed the top and bottom sections of the main body. I figured I’d get it all ready for paint, assemble it, then actually paint the ship. It’ll help even out the pain and create much less of a headache for me.

Along with the main body prep, I also assembled the 3 landing gear structures. The joys of a brand new exacto knife mean that my thumb has been cut up just a tad trying to get all those extra bits of plastic trimmed off. As soon as the supports are dry I’ll ready them for paint. These pieces will be painted prior to assembly seeing as how they are a different color than the body and are made to be taken off.

Monday, April 10, 2006

Millenium Flacon 1

The following is the list of materials and supplies to help bring the Millenium Falcon to life.


Model: AMT/ERTL Millenium Falcon
$23.83

Steel Wool, extra fine
$3.47
Sandpaper, fine, 150 grit
$1.77
Painter’s masking tape
$2.97
Total with tax: $8.90

Exacto Knife + extra blades
$2.85

Paint, 3 cans$7.45

There are still a few items i need for the basic body, some paint and detail brushes. As well, I am still working out the electronics and how exactly this ship should be lit. I'd like to make it funtional, yet also displayable which will involve making some kind of mounting for it.
But I am off to a good start.