Saturday, July 14, 2012

TARDIS 3

So there has been A LOT of work done since I last posted.  I lot more detail work and I've slowly started to make her blue...again.  We'll just dive in and discuss, shall we?

The following are pictures of the roof. Essentially it's just like the  base only with the tapered top. So I built with a very crude skeleton inside in order to give it some strength,


Lots of putty and filler later...

And we have the makings of a nice smooth roof piece just itching to have a light on top of it.


I've gotten in the habit of piecing things together before they are ready. but I can't help it I like seeing what things will look like.  And I think it's a good way to see if you're on the right track. Especially when scratch building.  So here is the Tardis with the roof just resting.


Some how I missed photographing the sides and the corner pieces.  But they're also, clearly...made. The sides actually slide into grooves cut into the corner pieces. I do at least have a close up of the top corner detail before paint


Moving on to the light at the top of the Tardis. This is the base and the top of the light structure.
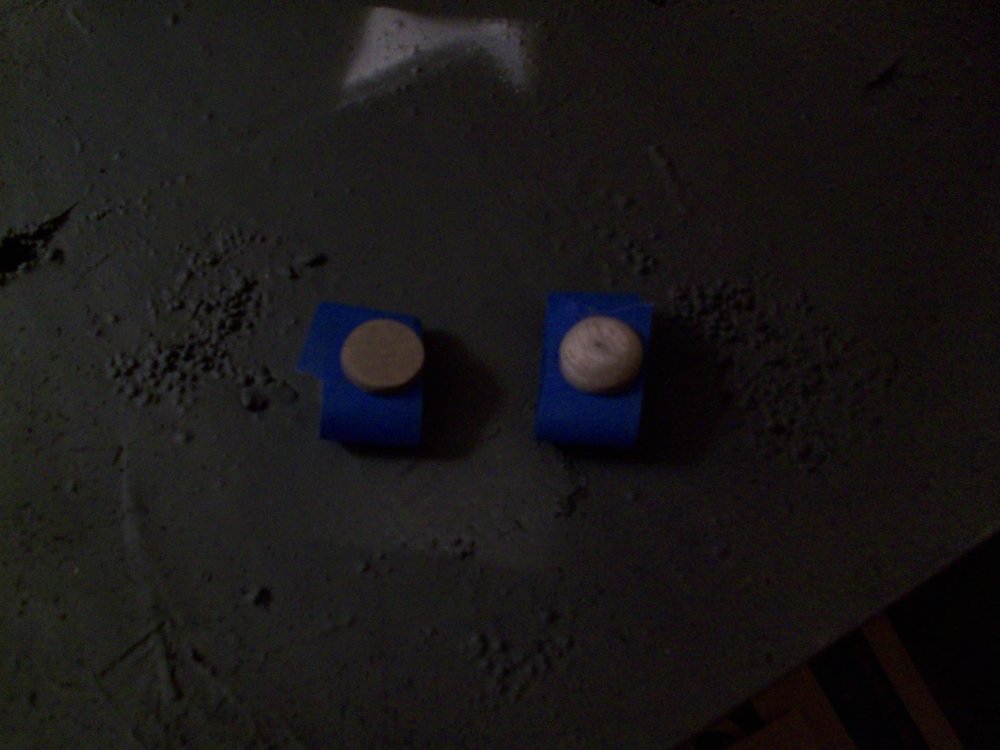


I built is one level at a time. This pic it appears to be leaning, but that's been fixed.  There was some non dried glue going on in this picture.


Of course...testing the lamp on the roof piece...


 BLUE!

The frame had to be painted before putting the plastic piece inside that will diffuse the light. There is just no space to tape anything out with this small piece.


With the frosted piece of plastic inside the light to help diffuse the LED and allow more of a glow.


Here is the  base of the Tardis taped out and painted blue.


And more test fitting. Here is with one set of windows cut open in prep for the mini light boxes that will illuminate the windows.


And the top piece now blue and with the filler panel on top.


So that's where I am right now. If this weekend opens up as much as I hope it will I should be able to get a lot more done. We'll find out tomorrow if I have to sand down the blue again. There is some minor dimpling probably from oil from my hands, or some water that hadn't dried yet before I started painting.  Great.


Wednesday, April 25, 2012

Proton Pack 9 Final!

Ladies and Gentlemen.  Here it is. At long last. Technically I started this in March of 2010.  But in reality, didn't truly begin in earnest until December of 2011.  I basically had the idea way back in the before time.  But finally sat down and created this little guy. What follows are the final images of the pack.  Some of it's fore mentioned glamour shots.

First up...a little video of the images and some live video of the pack.  Currently set to appropriate music but I can see this being muted soon by the youtube gods. 


Also a disclaimer. The pack does not run off of the external batter pack you see pictured.  It actually runs off of 4 watch batteries that fit inside so that the whole thing is self contained.  I just killed the ones I had by testing it so much throughout the build...and playing with it.  So for your benefit I used the external battery pack.


Hooray for video!

Here is some close up detail of the wand as I'm preparing the final pieces.

It's a little dark. Forgive me. But you get a good sense of the final piece.  The hardest parts to make were the tiny pieces fixed to the tip of the blaster.


And here are some photos of it lit up in various "poses."


The stand that you can see is just a simple 2 piece stand I made out of left over parts and painted gray to help the pack stand out from it.I didn't want it to just fade into the rest of the black of the pack. This might be the best shot that gives you a good idea of the whole thing and the detail.


10 points to anyone who can name this ship in the back ground.


And here we have it folks.  My child hood dreams have come true.  Some what.  Sure as a kid I wanted a full sized one. But this will have to suffice.  You try living in an NYC apartment and then fit a full sized Proton Pack in there.  Not to mention a workspace to create it.  I'm sure my neighbors are pretty high from all the pain fumes.  To you I say...you're welcome.

Monday, April 23, 2012

TARDIS 2

Coming along, slowly but surely.  Definitely going to have some stability issues working on a bigger scale than the proton pack. Especially with the nature of the Tardis in that it's just a big blue box.  For now...it's greyish.  Also not sure what the exact color blue will be.  Since I don't have access to an air brush this might cause some issues.  But that's for later on to figure out.  Here are some pictures of my progress.  It doesn't look like much, nor does it feel like I did much, but the base and 4 walls are on their way to being done.  So that's something.


 Base interior

 Base bottom

 Side Panels

More side Panels

A door!  or two

Rough height without the top on. Cause, you know...it's not made yet.

Proton Pack 8

We're getting down to the end my friends!  Here are some pics..blurry, I'm working on it...of the pack as it nears it's final finishing touches. A few dabs of paint for buttons and the rest of the wand is still to be attached.

Pack prior to ribbon cable

And here is the ribbon cable. I could not find anything that looked realistic enough and was a rainbow pattern.  So mine is just grey cable ripped from the innards of an old computer.


Cable attached...and drying...


And some side views


Quite literally getting down to the end.  I'm going to fashion a really basic and simple stand for it and display proudly on one of my book cases.  Coming soon some glamour shots* (cause to be honest who doesn't love a good glamour shot) of the pack in all it's lit up glory.  Something like this has me faced with the never ending question of...when do you know it's done? When is that enough sanding? I have no idea.  I just go until it looks good.

8 year old me would be proud.  


*No glamour shots will be taken