Thursday, March 27, 2008

Millenium Falcon 9


Today has been interesting to say the least.


I stopped by RadioShack this afternoon for a case for the batteries for the falcon. What happened to things being easy? I went in, grabbed my case and a 4-pack of AA's. Neville, the annoyingly incompetant sales clerk talked me into getting 3 more packs of batters. 4-for-10. not bad. Well apprently after i paid and all Neville made a mistake and the batteries i bought were NOT on sale. So of course i'mnot gonna pay for em. I spent the next 10 minutes waiting there while 3 other clerks came over and tried to figure out how to refund all this.


By this time i just wanted to leave and didn't wind up buying anything. And to top it all off, Radioshack doesn't sell wire. Speaker wire, sure. But what about good old electric wire?


So i went home, cooled off and went back a few hours later. After all i needed the battery case to begin wiring things correctly.


And behold the fruits of my labors. I figure that 4 AA's running the few LEDs that I have will be sufficiant enough to power the Falcon. The case for the battery fits perfect in the rear of the ship between the two landing gear bays. The whole thing will run off of one battery pack with an on/off switch.


Not too bad so far I think.

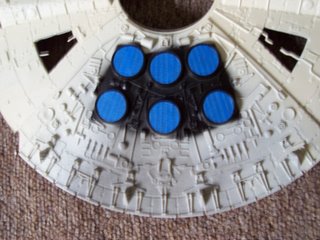
The blue glow from the engines is actually looking pretty damned good. Instead of direct light i'm going to angle the LEDs a little to spread the light and avoid harsh glares which you'll see still show up in pictures.

Right now I only have one blue engine light in. Its a slow process of making sure they're alligned correctly as well as gluing them in. I've contructed little stands to that the lights can be positioned at the right height behind the plastic shield.

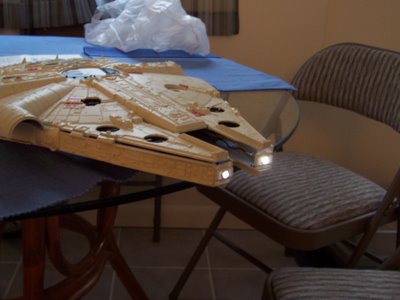
Top view. You can see the tape holding on the front of the cockpit while the glue drives. There is a small LED inside the cockpit that will more than likely be overpowered by all the others. As well, there is one in the center under the gun turrets. Currently its not plugged in. But when complete, light will be seen through the small circular windows on top and bottom.


Here you can also see the spill from the blue of the engines. The model isn't completely glued together, so there is going to be tons of spill. Once all the lights are in and up and running i'll be able to seal it shut. The only access point will be the top engin turret which I am not securingits going to be the only way to turn the ship on and off as well as replacing batteries.


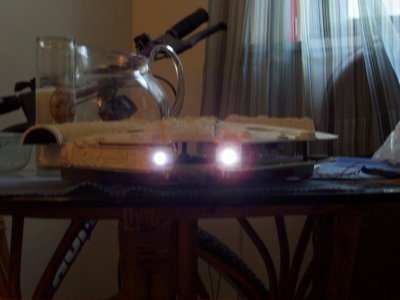
And of course some nice darker shots so you can get a look at what the lights will look like glowing in the darkness.


I think this is my favorite one so far. Granted its a bit blurry, but you can see some detail of the ship with the lights fired up.


Alright. Thats all for now. Within the next week or two I hope to have it all up and glowing. After that its just a matter of sealing off any cracks or seams to reduce spill light leaking through.

Enjoy.

Sunday, March 09, 2008

Millenium Falcon 8

Engines!

One of the most notable aspects of the Millenium falcon aside from its hamburger shape is the glowing blue strip of light in the rear. That glowing blue of the engines and hyper drive. Now the model comes with 2 strips of clear plastic which are apparently supposed to be painted blue and glue in the rear curve of the ship. 2 things about this. 1, that would look like crap. And 2, that would look like crap. So i sat down trying to figure out how i could simulate that glow in a more realistic way. Some modellers out there have talked about their use of light sheet and such, but i am pretty sure i can do it for cheaper. So first thing i got was a clear/frosted 3-ring binder.

I took one of these inexpensive folders, you know the kind. The ones you use for subjects in school that you don't care too much about. Well i cut out a strip approximately a foot long and an inch and a half high which will be glued into the back of the ship. Eventually this will have blue leds behind it illuminating the engines. A few tests have shown that the frosted plastic helps to diffuse the light from the leds, so it should give a nice even glow.

After making a few more measurements and cuts, the strip for the engines is ready to be glued in place. Its not going to provide any real structural re-inforcement, but the clear plastic pieces that came with the model weren't going to provide much more. You can see how this material picks up the flash from the camera. Its reflecting, but the flash is being diffused just a tad. I'm thinking this is going to work out really well.


Here is the piece being held in place with painters tape. (painters tape has come in handy throughout this whole project) Next will be to build some kind of light box behing the engines to help direct the light, but also the keep blue light from spilling into the rest of the model. In this pic you can see some of the spagetti of wires as well as the lower gun turret with does indeed turn 360 degrees. The upper turret will have the Luke Skywalker character that i painted with orange and white like the X-Wing fighters. Through the glass you'll be able to see him when the interior of the model is lit up.

And here is the back end of the Millenium Falcom with the Engine piece in place. Still drying and clamped down with tape as you can see. As of now the landing gear is going to be set so that you can take it off, but this means the doors to the landing gear will open on their own accord. Something else to address later on.


Thursday, March 06, 2008

Lightsabre 1

So I have decided to try my hand at replica making. So while I am elbow deep in wiring the lights for the millenium falcon, I'm here carving away. I have no idea how i should have begun, or what materials i should be using. So of course all of this is my best first attempt.

I started with a piece of styrofoam. Nothing fancy, just something of enough size that i could whittle down to the right shape. After making some markings here and there i started slicing away chunks of foam until i got it down to a somewhat recognizable shape and size. I think in the end its going to end up too thick, but again....first attempt.


like a weird monolith from 2001..

So as you can see its looking much more like that hilt of a generic lightsabre out of the Star Wars galaxy. I decided to model if off of pretty much all sabres. So there is a little of Kenobi's from the original films as well as Luke's. And of course a little of my own invention.

It started out with a little more detail. But as I am going I'm learning that foam is not the best medium to work with. No matter how sharp the knife. Its also horribly light. I'm hoping once the layers of paint and such are added it will give it a little more weight. And of course if i decide to illuminate it in some way. I'm contemplating putting something on the very top where the blade would emminate from.


Here is a better view of the finger grip section on the lower half.

And the other side. The little section that rises on the left side, i'm debating on putting a strip of leds in it. There was something there in the movies, so we'll see.

After i carved it out of the foam and got the best shape i could. As well as creating some of the detail, the next step was to give it some strength. After all its foam. I mean, come on. My trip to pearl paint yielded me modelling paste. Its just really thick elmers glue which is sandable. The only thing with this is that its glue. And as we all know, cause as kids we all glued our hands, its a bit rubbery when dry. So its taking forever to sand and smoothe down. I think its going to be a coat of this and then a coat of something thicker with more weight to it before I even think of priming it.


So this is my lightsabre. I started this several months ago. Why i'm finally posting I don't know. But hope you enjoy. I'll continue to update as the weather gets nicer and I can actually work on it outside.
Posted by Picasa

Wednesday, February 27, 2008

Millenium Falcon 7


So i know i haven't updated this in some time. I've been busy hopping across the country and working on other projects that have taken too much of my time.


Since the last post I have managed to do a little more work on the Millenium Falcon. Chewie and Han Solo and Successfully positioned in the cockpit. Some more of the wiring is in tact and ready to be circuited. I have also weathered more of the ship and added specific markings based on reference pictures.


Next step is to get the engines in the back doing what I need them to do. I have a few ideas so hopefully next post will see them glowing and blue.


Of course none of you are here to read my words, you're all looking for pictures. So as usual, here are a pile of slightly out of focus pictures. Squit, it looks better!


underside of cockpit

Underside with yellowing


WEEEEEE Blurry

above minus turret


this is a horrible pic but it looked cool with the light

detail of rear right of engines

larger view of the underside

cockpit full on

better view of turret lighting
So there ya go. Finally an update. Enjoy and look for new projects and pictures in the coming months

Sunday, July 02, 2006

Millenium Flacon 6

Progress is coming along slowly but at a decent pace. I've purposefully taken my time on this project and while it doesn't seem like i've gotten a lot done at one time, when i stand back and look I realize that I'm getting there.

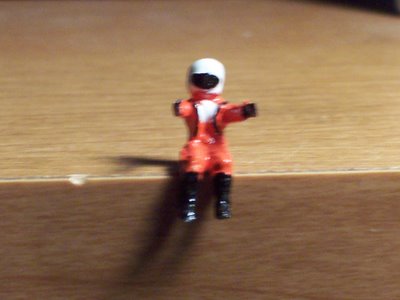
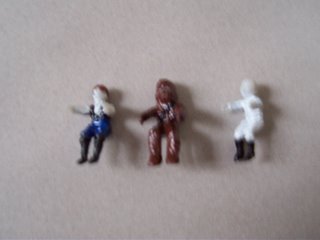
Following are more picture updates including the mysterious gunner. This model came with 3 characters. Two of which were obviously Han and Chewie. The third character in my opinion looked a lot like Luke in his X-Wing flight suit, so i painted him accordingly.

What you can't see is the detail on the sides of the helmut, did my best to draw the symbol of the rebellion.

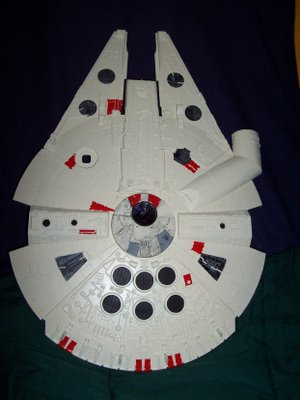
Here is the top half of the shell with the beginnings of the red detail. All the reference photos i've seen each have some discrepencies. Not to mention the fact that the model itself, while being very detailed, is not exact to the movie models.

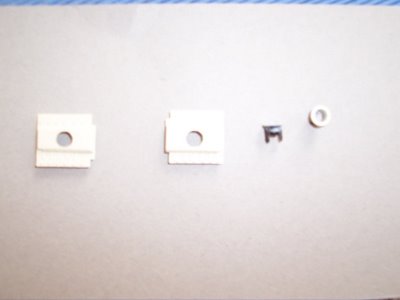
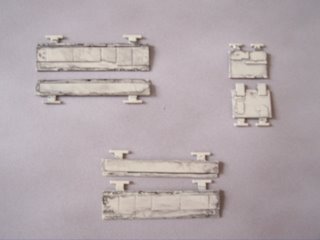
Here are the panels that go on the front of the mandibles. As well, pictured are the holders for the lamps that act as headlights for the falcon. Not the best pic, but you get the idea.

And here is a lighting test. First straight on. Nothing is glued together, just resting in place so i can get an idea of how everything fits together.

And a side angle view. You can see the wires in the left mandible and how there are gaps where the body isn't glued together yet.

Thanks for checking in, more to come soon.

Sunday, June 18, 2006

Millenium Flacon 5

Here is the most recent update. I've been a little busy the past few weeks with outside projects. Now I have been working on the ship, just haven't had time to post pics of my progress. So here is a lump of all the updates since last I posted. I'm getting close to the end and will be able to assemble it all soon. There are still a few problem areas, such as the lights as well as the cock pit. I want to do something to make it more real looking. As is, its awefully basic. I am in search of a good way to make the interior of the cockpit looking as real as possible. As well, I might need to scratch build a section for the front panel that according to this model is clear. We shall see.

Of course you're not interested in any of that, so on to the photos......


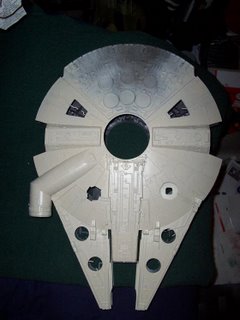
The upper half just after painting and prior to detail of the exaust vents being added.

The landing gear doors post paint and weathering.


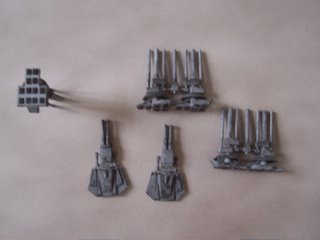
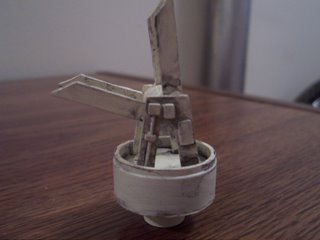
The upper and lower turrets, one finished, one still awaiting detail. Both windows painted and awaiting instillation.

The three characters that came with the model. Chewie was easy to figure out. The Han Solo one also seemed pretty obvious. Then there is the mysterious new guy. Complete with identity hiding helmet. I might pattern it off of Luke's orange flight suit just for fun.

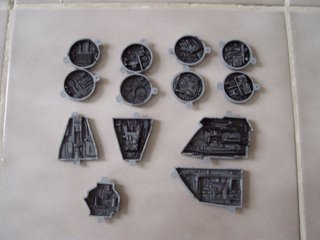
All of the inserts with weathering and mior detail.

Landing gear complete with detail and weathering. Included in this photo are also the upper and lower quad guns.


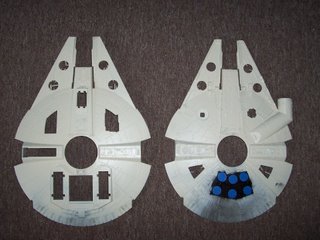
Upper and lower halves of the 'hambuger' in the midst of detail work on the exaust vents.


And here is a close up of the exaust vents. They've been painted black and are here taped out so the remaining portions of the aft end can be painted.

So here you go, the newest update. Since taking these photos a few days ago there has been even more work done, but i'll save that for another time. And as always any advice or suggestions are all welcome to help get this project looking as good as possible.

Monday, May 22, 2006

Millenium Flacon 4

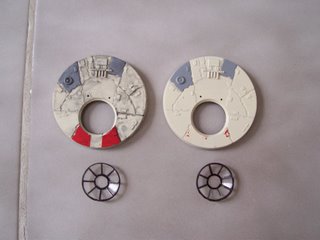
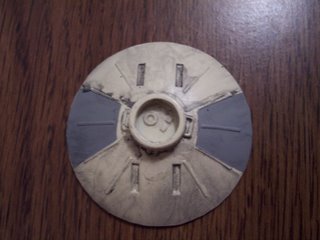
OK, this is a piece that I know drives modellers crazy. The sensor dish/array. Personally I know i've spend countless houurs scouring the internet and old photos and stills for pictures of some of the finer detail on the falcon. This particular piece seems to be missing from all close up shots that I could find. Happily though, I have been able to locate a few pictures that were clear enough for me to get a good idea of what the detail should look like.

The following are the pieces not totally assembled yet, but at least you can see the progress on the detail. There is some aging and some correct color panels being done.

Here is the front of the dish. I believe there are a few red markings that need to be placed on it, however I'm still double checking my facts on this particular detail. But as is, I'm very happy with the outcome.

This is the base to the dish itself. This piece took sometime and patience with moulding putty to smoothe out seams that otherwise would be way to visible.

And lastly, the rear view of the dish. The two grey panels were taped out and painted. Then the aging and black detail was added.

I will do my best to document this project with as many photos as possible so people will have some record of the falcon here online. So if anyone needs any close up photos, or more of a specific piece, please let me know and I will accomodate as I can.

I will say that all is coming along at a nice easy pace. I'm not rushing this. Hopefully for now this is enough. As the sections come together I will add more.